While digital ads compete for clicks, a physical banner makes a direct impact. It gives your brand a tangible presence in your community, catching the eye of passersby in a way a digital ad simply can’t. This guide is all about mastering this fundamental marketing tool. We’ll cover everything you need to know about creating an effective custom vinyl banner, from the key design elements that ensure readability to the finishing options that add durability. Think of this as your complete playbook for making a big, bold statement in the real world.
Key Takeaways
- Match your banner to its environment: Select the size, material weight, and finishes that fit where your banner will be displayed. Choosing options like reinforced edges for outdoor use ensures your banner looks professional and holds up over time.
- Design for a quick glance: Your banner has only a few seconds to make an impression. Use a clear headline, high-contrast colors, and simple, bold fonts to ensure your message is easy to read and understand from a distance.
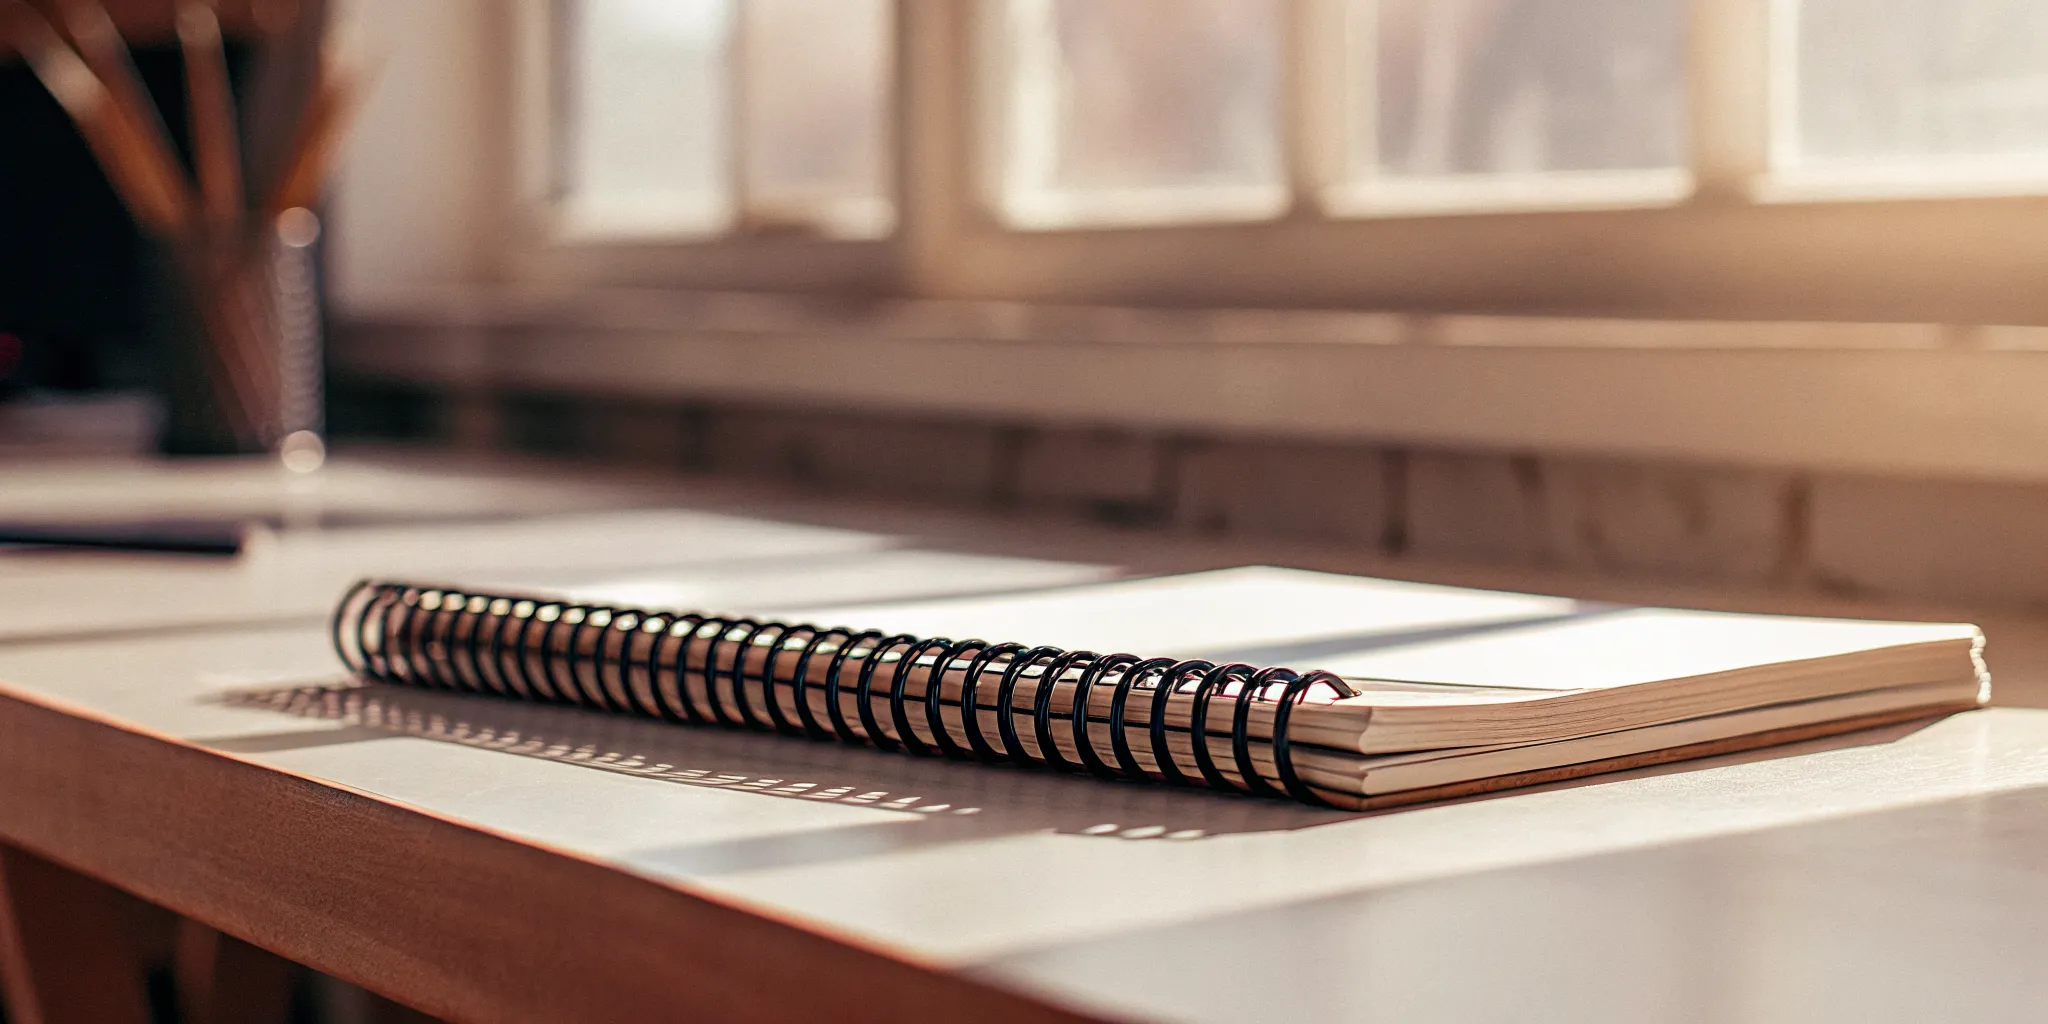
- Roll, don’t fold, for longer life: To prevent permanent creases and protect the ink, always roll your banner for storage with the printed side facing out. A little care goes a long way in keeping it ready for the next event.
What Exactly Is a Custom Vinyl Banner?
A custom vinyl banner is one of the most versatile and hardworking tools in your marketing kit. Think of it as a portable billboard for your business. Made from a durable, weather-resistant material, these banners are printed with your unique design, message, and branding. The best part is their simplicity. Once you have your banner, all you need to do is unroll it and hang it up to grab the attention of potential customers, whether at an event, outside your storefront, or at a job site. They are a straightforward and effective way to make a big statement without a big budget.
Popular Ways to Use Vinyl Banners
Vinyl banners are perfect for targeted marketing because you can place them exactly where your audience will be. They are fantastic for announcing grand openings, promoting special sales, or directing foot traffic during a community event. Many businesses use them for seasonal promotions, capitalizing on holidays and local festivities to connect with customers. You can also use them to create a professional and eye-catching display at trade shows. By placing a well-designed banner in a high-visibility area, you can effectively communicate your message and leave a memorable impression on your target audience.
Why Choose Vinyl for Your Banner?
Even with all the digital marketing options available, banners remain a fundamental tool for businesses because they are simple and they work. Vinyl banners offer a practical and professional way for any business to increase brand awareness and drive foot traffic. They are a tangible piece of your marketing that helps you stand out in a physical space. A bold banner can catch the eye of passersby in a way a digital ad can’t, making it a powerful part of your overall marketing strategy. For making a lasting impression in your local community, the impact of a high-quality vinyl banner is hard to beat.
How Can You Customize a Vinyl Banner?
Creating a banner that truly represents your brand goes beyond just uploading a logo. Customization is about tailoring every detail to fit your specific goals, whether you’re announcing a grand opening, promoting a sale, or directing traffic at an event. You have control over the final product, from its physical size and material to the visual design that communicates your message. Making your banner unique is a straightforward process when you know which elements you can adjust.
The main ways to personalize your banner are by choosing its dimensions, creating a compelling design, and selecting the right material and finishes for its intended environment. Each of these choices plays a key role in how effective your banner will be. A massive banner might be perfect for a storefront, but a smaller, more portable one is better for a trade show booth. Similarly, a design with bold, simple text is great for roadside visibility, while a more detailed graphic works well for up-close viewing. Thinking through these options ensures you get a banner that not only looks great but also performs perfectly for the job at hand. We offer a variety of wide format printing options to match whatever you have in mind.
How to Pick the Perfect Banner Size
The first step in customizing your banner is deciding on its size. Before you pick a number, think about where the banner will be displayed. Will it hang on the side of a building, stretch across a table, or stand on its own at an event? Measure the space to make sure your banner will fit comfortably without looking too cramped or too small.
Also, consider the viewing distance. A banner meant to be seen by drivers on a busy street needs to be much larger with bigger text than one designed for foot traffic in a hallway. The goal is for your message to be clear and legible from the intended distance. We offer a wide range of standard sizes, but you can also order custom dimensions to get the perfect fit for your space.
Working with Designs and Templates
Once you know the size, it’s time to focus on the visuals. You have a couple of great options here. If you already have a print-ready file from a designer, you can simply upload your artwork and you’re ready to go. This is the perfect path for businesses with established branding who want to maintain a consistent look across all their marketing materials.
If you’re starting from scratch or need some inspiration, you can work with one of our designers to bring your vision to life. A professional can help you create a balanced layout, choose the right colors, and ensure your final design is effective and eye-catching. Your banner is a reflection of your brand, so a thoughtful design is always a worthwhile investment.
Choosing Your Material Weight and Finish
The material you choose determines your banner’s durability and appearance. Most vinyl banners are made from a strong PVC material, and you can typically pick between a standard 13 oz weight and a heavier 16 oz option. The 13 oz vinyl is a versatile and cost-effective choice that works well for most indoor and short-term outdoor uses. For banners that will be outside for longer periods or in windy conditions, the thicker 16 oz vinyl offers extra strength and UV protection.
Finishing options add another layer of durability. If you plan to hang your banner outside, selecting both reinforced edges and grommets is a smart move. Reinforced edges prevent tearing, while grommets (the metal rings punched along the edges) provide sturdy anchor points for hanging with rope or hooks.
Advanced Customization: Double-Sided Printing and Special Materials
While the standard vinyl options cover most situations, some projects need a more specialized solution. This is where advanced customization comes in. One of the most popular advanced features is double-sided printing. This lets you display your message on both sides of the banner, which is perfect for high-traffic areas where people are approaching from all directions, like a hallway or an outdoor event. Beyond printing on both sides, you can also choose special materials designed for specific environments. These options ensure your banner not only looks great but also performs exactly how you need it to, whether that means standing up to strong winds or offering a more sustainable choice for an indoor display.
Mesh Banners for Windy Conditions
If you plan to hang your banner in an open, windy area, a standard vinyl banner can act like a sail, putting a lot of stress on the material and its grommets. For these situations, a mesh banner is the ideal solution. Mesh vinyl is perforated with thousands of tiny holes that allow air to pass through freely. This design drastically reduces the wind load, preventing your banner from tearing or getting damaged. It’s the perfect choice for banners on fences, construction sites, or at breezy outdoor festivals, ensuring your message stays visible and your banner remains intact, no matter the weather. You can explore these and other wide format options to find the right fit.
Light-Blocking and PVC-Free Options
Sometimes, the environment behind your banner can affect its appearance. If you’re placing a banner in a window or in front of a bright light source, a standard material might appear washed out. Light-blocking vinyl solves this by using an opaque inner layer that prevents any light from passing through, keeping your graphics rich and vibrant. This material is also essential for creating clean, double-sided banners, as it stops the design from one side from showing through to the other. For businesses focused on sustainability, PVC-free materials are also available, offering a great alternative for indoor displays like those at trade shows, without compromising on print quality.
How Durable Are Vinyl Banners?
One of the best things about vinyl banners is their strength. They are designed to be tough and long-lasting, which makes them a reliable choice for both indoor and outdoor displays. A well-made vinyl banner can handle different weather conditions without losing its vibrant look, ensuring your message stays clear and professional. The key is choosing the right features for where and how you plan to use it. From the material weight to the finishing touches, a few simple decisions can make a big difference in how long your banner lasts and how great it looks over time.
13 oz vs. 16 oz Vinyl: What’s the Difference?
When you browse wide format banners, you’ll often see options for material weight, typically 13 oz or 16 oz. Think of this as the thickness and sturdiness of the vinyl. A 13 oz banner is the standard choice and works perfectly for most situations, especially indoors or for short-term outdoor use. If you need something more robust for a long-term outdoor display or a high-wind area, upgrading to a 16 oz vinyl is a smart move. The heavier material offers extra strength and durability, giving you more peace of mind that your investment will hold up against the elements.
Indoor vs. Outdoor Banners: What You Need to Know
Where you hang your banner is the biggest factor in determining what features you need. For indoor use, like at a trade show or inside your store, a standard banner is all you need. But if your banner is heading outside, you’ll want to add some reinforcements. Opting for reinforced edges and grommets is essential for outdoor banners. The reinforced hem prevents the edges from fraying in the wind, while the metal grommets provide strong, tear-resistant anchor points for hanging. These small upgrades significantly extend the life of your banner when it’s exposed to wind and rain.
Will Your Banner Stand Up to Sun and Rain?
A quality outdoor vinyl banner can last for years with proper care. However, constant exposure to the elements, especially direct sunlight, can cause the colors to fade over time. To keep your design looking sharp and vibrant, consider a banner with UV-resistant printing. This special printing process helps protect the inks from the sun’s rays, acting like a sunscreen for your banner. It’s a great option if your banner will be displayed in a sunny spot for an extended period, ensuring your message remains as bright and eye-catching as the day you got it.
Expected Lifespan of Vinyl Banners
With the right care, a high-quality vinyl banner can be a long-term marketing asset. An outdoor banner can typically last for two years or even longer, while an indoor banner, protected from the elements, can look great for many years. The key factors that influence its lifespan are where it’s displayed and how you store it. For outdoor banners, consistent exposure to direct sunlight and harsh weather will naturally cause some wear over time. To get the most out of your investment, proper care and choosing the right material for the environment are essential for keeping your banner in top condition for as long as possible.
Technical Specifications: Strength and Safety
Vinyl banners are more than just a pretty face; they are engineered to be impressively resilient. The material itself is designed to withstand physical stress and a wide range of environmental conditions, ensuring your message remains intact and professional. This durability comes from specific technical properties that measure its strength against pulling and tearing, its ability to handle extreme temperatures, and even its resistance to fire. Understanding these specifications can give you confidence that your banner is built to last, whether it’s hanging outside your storefront for months or being used at an indoor trade show.
Tensile Strength and Temperature Resistance
When we talk about strength, we’re referring to the banner’s ability to resist force. Vinyl material has a high tensile strength, which means it can handle a significant amount of pulling and tension without stretching or breaking. It’s also highly resistant to tearing, so a small nick is less likely to turn into a major rip. This makes it perfect for being stretched taut between posts or hung in windy areas. Furthermore, vinyl is built to perform in nearly any climate, with a temperature resistance ranging from a frigid -40°F to a sweltering 194°F. This ensures your banner won’t become brittle in the cold or warp in the summer heat.
Fire Safety Certifications for Indoor Use
Safety is a top priority, especially for items displayed in public indoor spaces. That’s why our custom banners are certified to be fire-retardant according to NFPA-701 standards. This is a national fire safety code that tests how a material reacts to fire. A certified banner will not fuel a flame and is designed to self-extinguish once the heat source is removed. This certification is often a requirement for materials used in venues like convention centers, schools, and retail stores, giving you peace of mind that your display is not only effective but also compliant with important safety regulations.
How to Design a Banner That Gets Noticed
A great banner does more than just exist; it grabs attention and communicates your message in a split second. Think of it as your business’s outdoor elevator pitch. The design choices you make, from font size to color contrast, determine whether people notice your banner or walk right past it. A well-designed banner can be a powerful tool for driving foot traffic, announcing a sale, or building brand awareness at an event. But a poorly designed one is just a waste of vinyl.
Before you even open a design program, start with a clear goal. What is the single most important action you want someone to take after seeing your banner? Is it to visit your website, come inside your store, or remember your brand name? Every element of your design should support this one goal. Also, consider your audience. A banner for a corporate conference will have a very different look and feel from one for a local street fair. Understanding who you’re talking to will help you choose the right tone, imagery, and message. Finally, think about context. Where will the banner be displayed? How much time will people have to see it? A roadside banner needs to be understood in three seconds, while a banner at a trade show booth can contain a bit more detail. Getting this strategy right is the foundation for a banner that truly gets noticed.
Simple Rules for a Readable Design
Readability is everything. If people can’t read your banner from a distance, it isn’t doing its job. Before you start designing, think about where the banner will be displayed. A banner hanging high above a street needs much larger text than one inside a conference room. Keep your message short and sweet, focusing on one key takeaway. Use a clear visual hierarchy to guide the eye: your headline should be the biggest, followed by key details, and then your logo or contact info. And always keep important text and images away from the edges to avoid them getting cut off during printing. This “safe zone” ensures your critical information is seen.
How to Pick the Best Fonts and Colors
When it comes to fonts, choose clarity over creativity. Simple, bold, sans-serif fonts like Helvetica or Arial are excellent choices because they’re easy to read from far away. Stick to one or two fonts to avoid a cluttered look. Color is your secret weapon for getting noticed. High-contrast color combinations, like black on yellow or white on blue, make your text pop. Use colors that align with your brand’s identity to build recognition, but make sure they provide enough contrast for your message to stand out. A well-chosen color palette makes your banner both appealing and effective.
Common Design Mistakes to Avoid
One of the biggest mistakes is trying to say too much. A banner cluttered with text and images will just confuse people. Stick to a single, powerful message and a clean layout. Another common error is using low-resolution images. Your photos and logos might look great on your computer screen, but they can become blurry and pixelated when printed on a large vinyl banner. Always use high-quality, high-resolution files. Finally, maintain brand consistency. Your banner should use the same logos, colors, and fonts as your other marketing materials to create a cohesive and professional image.
Getting Your Artwork Ready for Print
Getting your design file ready for the printer is a crucial final step. First, make sure your design software is set to the CMYK color mode, not RGB. RGB is for screens, while CMYK is for printing, and using the right mode ensures your colors look as you expect. Next, add a “bleed,” which is a small extra margin of your design that extends beyond the final trim edge. This prevents any unprinted white edges after the banner is cut. Also, respect the “safe zone” by keeping all your important text and graphics away from the edges so nothing gets trimmed off.
The Proofing Process: From Artwork Check to Final Approval
After you’ve submitted your design, the proofing stage begins. This is your final opportunity to review everything before your banner goes to print. We start by performing an artwork check to make sure your file is set up correctly for our printers—we look for things like proper resolution, color mode, and bleed to ensure a high-quality result. Once we’ve confirmed your file is ready, we’ll send you a digital proof. This is a preview of exactly how your banner will look. It’s so important to check this proof carefully for any typos, alignment issues, or color discrepancies. Giving your final approval means you’re happy with the design and ready for us to start printing your custom banner.
What Determines the Price of a Vinyl Banner?
When you’re budgeting for a custom vinyl banner, you’ll find that the price can vary quite a bit. There isn’t a single price tag because every banner is unique. The final cost depends on a few key factors, with the most significant being the banner’s size and the type of vinyl material you choose. Think of it like ordering a custom piece of furniture; the dimensions and materials are the primary cost drivers. Beyond that, special finishes or complex designs can also influence the price. Understanding these elements will help you get an accurate quote and ensure you’re investing in a banner that fits both your needs and your budget.
How Size and Material Affect Your Cost
It makes sense that the biggest factor in your banner’s cost is its size. A larger banner requires more material and ink, so the price will scale up with the dimensions you choose. The type of vinyl also plays a crucial role. Most banners are made from a durable PVC material, but you can often select different weights. A standard 13 oz vinyl is great for most indoor and short-term outdoor uses. For something more robust that needs to withstand sun and wind, a heavier 16 oz option is a better choice, though it comes at a higher price. Exploring different wide format options will give you a feel for how these choices impact your project.
Understanding Banner Pricing: Examples and Estimates
To give you a clearer picture, pricing for a standard vinyl banner can start as low as a few dollars for a small size, while a heavy-duty version might begin at a slightly higher price point. These base prices are a great starting point, but your final cost will depend on the exact dimensions and material weight you select. For example, a large 4′ x 8′ banner will naturally cost more than a smaller 2′ x 4′ one. If you’re outfitting multiple locations or preparing for a series of events, you can often save money when you order your banners in bulk. Many printers offer discounts for larger quantities, which is a smart way to stretch your marketing budget without compromising on quality.
How to Find Banner Discounts and Deals
While the base price is determined by your banner’s specs, you can still find ways to save. Keep an eye out for promotions, especially around holidays or peak business seasons, as many printing companies offer special deals. If you’re a new customer, you might be able to take advantage of a first-time buyer discount. One of the easiest ways to stay in the loop is by signing up for your printer’s email newsletter. This is often the first place companies announce sales, share exclusive promo codes, and even offer perks like free shipping. It’s a simple step that can lead to significant savings on your order.
How to Hang and Display Your Vinyl Banner
You’ve designed the perfect banner, and it looks fantastic. Now, how do you get it up on the wall, fence, or stand? The way you display your banner is just as important as the design itself. A properly hung banner is easy to read and looks professional, while a sagging or crooked one can send the wrong message. It’s the final step that brings your vision to life, ensuring your message is seen clearly by everyone you want to reach. Choosing the right hardware and finishing options from the start will save you a lot of headaches later. Think of it like framing a picture; the right frame enhances the art, and the right hanging method makes your banner shine. Let’s look at the best ways to hang your banner so it stays secure and looks its best, whether it’s for a one-day event or a long-term outdoor display. We’ll cover the most common hardware, how to make sure your banner stays put no matter the weather, and how to pick the right finish for your specific needs.
Your Guide to Banner Hardware and Mounting
Your main choices for hanging a banner come down to grommets or pole pockets. Grommets are small metal rings placed along the edges of the banner, perfect for threading rope, zip ties, or bungee cords through. They are incredibly versatile for hanging your banner just about anywhere. Pole pockets are sleeves sewn into the top and bottom of the banner, allowing you to slide it onto a pole for a taut, seamless look on a stand. Thinking about your display location first will help you pick the right option for your wide format banner.
Tips for Securing Your Banner Anywhere
To make sure your banner stays put, especially outdoors, you need more than just a few pieces of rope. For windy locations, always opt for reinforced edges and grommets. This combination provides extra strength and prevents the material from tearing under stress. When hanging with grommets, use bungee cords instead of rigid rope. The elasticity of the bungees allows the banner to flex with the wind, reducing strain on the grommets and the banner itself. For large banners at trade shows or events, ensure your stand or anchor points are sturdy enough to support the weight and handle any potential weather, keeping your display safe and professional.
Damage-Free Hanging Methods for Walls
Hanging a banner indoors often comes with the worry of damaging walls, especially in rented office spaces or event venues. The best way to avoid nails and screws is to use removable adhesive hooks. These are designed to hold strong and come off cleanly without leaving any residue or peeling paint. Before you hang your banner, check the weight limit on the hook packaging and make sure it can support your banner. A standard 13 oz vinyl is usually light enough for this method. Simply place the hooks on the wall, spaced to match the grommets on your banner, and you’ll have a secure, professional-looking display. This approach gives you the flexibility to showcase your custom vinyl banners anywhere indoors without any permanent commitment.
Grommets vs. Pole Pockets: Which Finish Is Best?
So, should you go with grommets or pole pockets? The best choice really depends on how you plan to use your banner. Grommets offer the most flexibility. You can tie your banner to a fence, attach it to a wall with hooks, or string it between two posts. They are the go-to option for most outdoor and varied-use applications. Pole pockets, on the other hand, are designed for a specific purpose: sliding onto a banner stand. This creates a very clean, professional presentation that’s perfect for indoor events, lobbies, and retail displays. If you need both options, many printers can add grommets to a banner that also has pole pockets, giving you the best of both worlds.
How to Make Your Vinyl Banner Last
You’ve invested time and money into designing the perfect vinyl banner, so you want it to look sharp for as long as possible. A little bit of care goes a long way in extending its life, allowing you to reuse it for multiple events and promotions. Think of it this way: a well-maintained banner is a cost-effective marketing tool that keeps working for you. By handling your banner correctly and making a few smart choices from the start, you can protect it from common issues like fading, tearing, and creasing.
It all comes down to two key areas: how you clean and store it, and how you set it up for success from day one. These aren’t complicated or time-consuming tasks, but they make a huge difference in the long run. For example, simply rolling your banner instead of folding it can prevent permanent damage. And when you order, choosing the right finish for outdoor conditions can save you from having to replace it prematurely. Taking these simple steps ensures your collection of trade show materials remains a vibrant and professional representation of your brand every time you display it. Let’s get into the simple habits that will keep your banner in top condition.
The Right Way to Clean and Store Your Banner
Keeping your banner clean is surprisingly simple. You don’t need any special chemicals or equipment. Just gently wipe the surface with a soft, damp cloth to remove any dust or smudges. This quick touch-up can make the colors pop again, especially before an important event.
When it’s time to put the banner away, the most important rule is to roll it, never fold it. Folding creates sharp creases that can permanently damage the vinyl and crack the ink. For best results, roll the banner with the printed side facing out, as this helps protect the design. Then, slide it back into its original shipping tube or a similar protective container. Store it horizontally in a cool, dry place away from direct sunlight to prevent any warping or fading.
Step-by-Step Cleaning Instructions
Keeping your banner looking fresh is easier than you think. Before your next event, lay the banner flat on a clean surface. For general dust and light smudges, all you need is a soft, damp cloth—microfiber works great. Gently wipe the surface in smooth motions. If you encounter a more stubborn spot, you can use a mild solution of soap and water. Just be sure to avoid any harsh chemical cleaners or abrasive scrubbers, as they can damage the vinyl and the ink. Once it’s clean, let it air dry completely before you roll it up for storage. This simple wipe-down can make the colors pop and ensures your banner always looks professional.
How to Remove Wrinkles and Creases
The best way to deal with wrinkles is to prevent them in the first place by never folding your banner. But if you unroll it and find some minor creases, don’t worry. The simplest trick is to use a little bit of warmth. Lay the banner flat, printed side up, in a sunny spot for an hour or two. The gentle heat from the sun will help the vinyl relax and smooth out most of the wrinkles on its own. For this reason, it’s always a good idea to unroll your banner a day before your event to give it time to flatten out naturally. This hands-off approach is the safest way to get your banner looking crisp and ready for display.
Proper Storage Techniques
How you store your banner is the single most important factor in its longevity. When it’s time to put it away, always roll it up—never fold it. Folding creates sharp creases that can permanently damage the vinyl and cause the ink to crack over time. For the best results, roll the banner with the printed side facing out. This helps protect the vibrant design from scratches and keeps the ink from compressing. Once it’s rolled, slide it back into its original shipping tube or a similar protective container. Store it horizontally in a cool, dry place away from direct sunlight to keep your wide format banners in perfect condition for the next use.
Simple Ways to Prevent Damage
A little foresight during the ordering process can save your banner from wear and tear later on. If you know your banner will be hanging outdoors for an extended period, be sure to select reinforced edges and grommets. This combination provides extra strength against wind and prevents the edges from fraying or tearing. It’s a small upgrade that makes a huge difference for any of your wide format banners.
Sunlight is another factor to consider. Constant exposure can cause even the most vibrant colors to fade over time. To combat this, you can opt for a protective laminate finish or UV-resistant printing, which acts like sunscreen for your banner. Finally, think about your specific hanging needs. If standard grommets won’t work for your display, you can often request custom options like pole pockets when you place your order.
Which Type of Banner Is Right for You?
Vinyl banners are incredibly versatile, but the best banner for a trade show isn’t always the right fit for a construction site. Thinking about where you’ll use your banner is the first step to creating a design that works. Whether you need to attract customers in a crowded convention hall or inform passersby about a retail promotion, the context shapes your message and design. A banner meant to be seen from a distance on a busy street needs a different approach than one viewed up close in a store. For example, a banner hanging outside your shop needs to be durable enough to handle sun and rain, while an indoor banner can focus more on high-resolution graphics.
By matching your banner to its environment, you ensure your message lands effectively and you get the most out of your investment. Consider your audience, too. Are you trying to catch the eye of drivers speeding by, or are you communicating detailed information to people standing in line? The answer will influence everything from your font size to your color choices. Before you jump into the design process, take a moment to define your banner’s primary job. Is it to announce, direct, inform, or sell? Clarifying its purpose will make all your other decisions much easier. Let’s look at some common uses for vinyl banners and what makes each one successful.
Choosing a Banner for Events and Trade Shows
Events and trade shows are all about making a big impression quickly. Your banner is often the first thing potential customers see, so it needs to be clear and attention-grabbing. Use bold colors and a simple, powerful message to draw people to your booth from across the room. Since these banners are often transported and reused, durability is key. A well-designed banner acts as a silent salesperson, communicating your brand’s value to a targeted audience. When preparing your trade show materials, think of your banner as the centerpiece that ties your entire display together and makes your booth a must-visit destination.
Using Banners for Retail and Promotions
For retail businesses, a vinyl banner is a cost-effective tool for driving foot traffic. A single banner can announce a seasonal sale, a grand opening, or a new product line, working for you around the clock. Hang one in your storefront window or on your building’s exterior to catch the eye of people passing by. These wide format displays are perfect for creating immediate interest and turning a casual glance into a sale. Because they are so easy to hang and take down, you can use them for a weekend promotion and then store them safely for the next event, making them a smart investment for any marketing budget.
Why Banners Work for Construction and Real Estate
On a construction site or at a property listing, a banner serves as a professional calling card. It can build brand awareness, advertise your services, or provide key information about a project. For these industries, banners need to be especially tough to withstand the elements for weeks or months at a time. A clean, well-designed banner generates curiosity and encourages potential clients to learn more about your work. It’s a practical way to market your business directly to the local community, showing off your professionalism while the project is still underway. Explore a full list of products to find the right signage for your next job site.
How to Choose a Banner Printing Company
Once your design is ready, the final step is finding the right company to bring it to life. Your choice of printer can make all the difference between a banner that looks sharp and professional and one that feels flimsy or fades quickly. A great printing partner will not only deliver a high-quality product but also make the entire process smooth and straightforward. Look for a company that is transparent about its materials, offers clear timelines, and provides excellent customer support. This partnership ensures your investment results in a durable, effective banner that represents your brand well, whether it’s hanging at a trade show or outside your storefront.
What to Look for in Quality and Materials
The foundation of a great banner is the material it’s printed on. A reputable printer will offer durable options designed to look good and last. You’ll want to find a company that uses high-quality, curl-free vinyl to ensure your banner hangs flat and looks professional. Many printers use a strong PVC flex material and offer different weights, like a standard 13 oz vinyl for general use or a heavier 16 oz option for added strength and sun protection. The best printing companies provide a clear selection of wide format materials, so you can confidently choose the right one for your specific needs, whether your banner is for indoor or outdoor display.
What to Expect for Turnaround and Service
Beyond the physical product, you need a printing service that is reliable and easy to work with. Check the company’s stated turnaround times before you order. Most printers offer delivery within a week, with some providing options that range from three to eight business days depending on your deadline. A trustworthy company makes the ordering process simple, from uploading your design to selecting your finishing options. Look for clear communication and accessible customer support. If you have a question or need help with your file, you should be able to get a quick and helpful response. This level of service ensures you get your banner on time and exactly as you envisioned it.
Related Articles
- Vinyl banner – Print It
- Easily Upload Designs for Your Vinyl banner
- Banner Stands
- Easily Upload Designs for Your Retractable Banner Stands
- Easily Upload Designs for Your Banner Stand
Frequently Asked Questions
What’s the most important thing to consider when designing my banner? Readability is the number one priority. Your banner has only a few seconds to catch someone’s eye and deliver its message. Before you do anything else, think about where it will be displayed and how far away people will be. Use a large, clean font and high-contrast colors to ensure your text is legible from a distance. A simple, focused message will always be more effective than a cluttered design.
How do I know if I really need the heavier 16 oz vinyl? The 16 oz vinyl is your best choice for any long-term outdoor display. If you plan to hang your banner outside for several weeks or months, especially in a windy or very sunny spot, the extra durability is a smart investment. It offers more strength and protection to keep your banner looking its best. For most indoor uses or short-term outdoor events, the standard 13 oz vinyl works perfectly well.
What’s the best way to store my banner so I can reuse it? The key to making your banner last is to store it properly. After an event, gently wipe it clean with a damp cloth. The most important rule is to always roll your banner, never fold it. Folding creates permanent creases that can crack the ink and ruin the design. Roll it with the printed side facing out and keep it in a protective tube in a cool, dry place.
What’s the most common design mistake you see? The biggest mistake is trying to cram too much information onto the banner. A banner is not a brochure; it’s a tool for grabbing attention quickly. When a design is overloaded with text, multiple images, and competing messages, it becomes confusing and ineffective. It’s much better to stick to one clear headline, a single powerful image, and your logo to make a memorable impact.
I’m not a designer. How can I make sure my artwork is ready for printing? You don’t need to be a design expert to get a great result. The most critical step is to use high-resolution images and logos, as this prevents them from looking blurry or pixelated when printed large. If you’re creating the file yourself, make sure it’s saved in the CMYK color mode, not RGB. For complete peace of mind, working with a professional designer can ensure your file is set up correctly from the start.
Checking for Production Speed and Shipping Options
Deadlines are a reality, especially when you’re planning for an event or a big sale. A reliable printing partner understands this and is upfront about how quickly they can get your order ready. Look for clear information on production times. Some printers can have your banner order ready for shipping as fast as the next business day, which is a lifesaver for last-minute needs. They should also offer a range of shipping options to match your timeline and budget. You can often choose from express delivery in as little as three business days to more economical options that might take a week. This transparency allows you to plan with confidence and ensures your banner arrives exactly when you need it.
Look for a Satisfaction Guarantee
A satisfaction guarantee is more than just a policy; it’s a sign that a company is confident in the quality of its work. A great printer will stand behind their products and make it right if something goes wrong. Look for a clear promise of high-quality printing and a straightforward process for addressing any issues. For example, if you’re not happy with your banner, a reputable company will offer to fix the problem by reprinting and shipping a new one at no extra cost. This kind of commitment gives you peace of mind, knowing that your investment is protected and that the company truly values your business and its own reputation.